Workflow

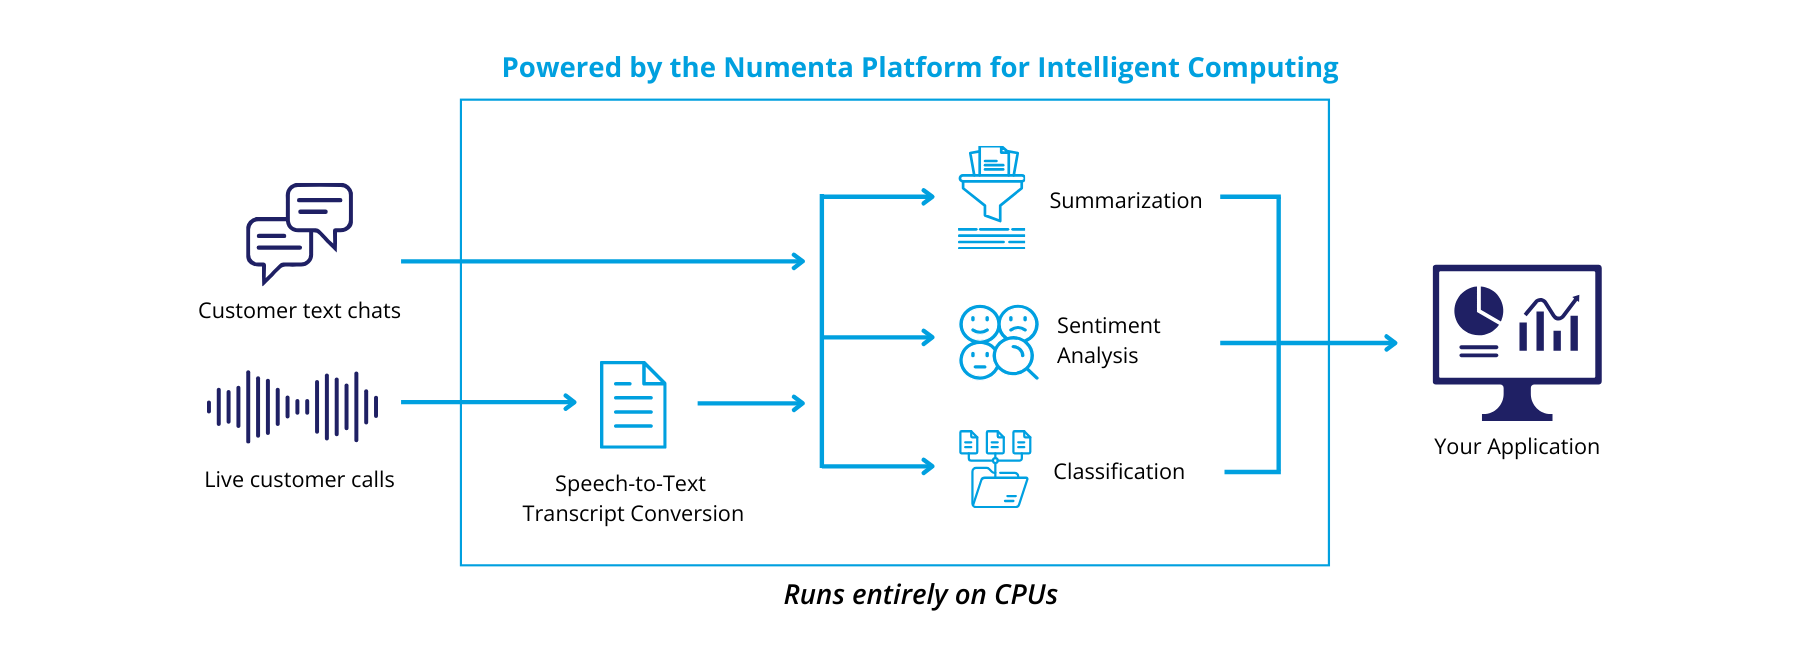
Example workflow for a customer support application
Step 1: Select a model from the NuPIC Model Library
When you first start your project, choose a model from our Model Library to deploy to the Inference Server or fine-tune with the Training Module. For those with existing models in production or preferred models, you can easily add them to the Model Library and fine-tune/ deploy your models within NuPIC. Find our list of pre-trained models here: Model Library.
(Optional) Step 2: Fine-tune a model with the NuPIC Training Module
The NuPIC Training Module allows you to fine-tune a pre-trained model with your own dataset for higher accuracy. We also provide a workbench within the module that allows you to upload and prepare your datasets and adjust configurations for maximum performance. Install here: NuPIC Training Module Installation.
Step 3: Deploy a model with the NuPIC Inference Server
Alternatively, instead of fine-tuning the model, you can launch your model straight into the Inference Server for immediate deployment. NuPIC Inference Server is optimized to run LLM inference with higher throughputs and lower latency than a traditional inference system. Install here: NuPIC Inference Server Installation.
Step 4: Scale your NLP applications with NuPIC
Throughout the process, you’ll have the flexibility to adjust model configurations to optimize your project. When you’re happy with the results, you can confidently scale your operations to handle larger volumes of data. Learn how to maximize model performance here: Optimizing Throughput and Latency.
Since NuPIC Inference Server is packaged as a Docker container, it can fit in a variety of production deployment architectures. Therefore, the deployment process is generally flexible. For example, there could be multiple instances of the server running on multiple machines behind a load balancer. Because of these flexibilities, all these components can be deployed completely within your own infrastructure for security, privacy, and compliance purposes.
Updated 7 days ago